KoCoS Blog

Filtered by pzube Reset filter

Six-Sigma in silicon carbide substrate manufacturing with LOTOS 3D
measurement systems.

Achieving the stringent zero defect strategy in the automotive industry is becoming a major challenge for silicon carbide substrate manufacturers. Both the switch from 150 to 200 mm wafers and the general shift in their focus away from pure silicon are making manufacturers struggling to achieve sufficient yields and reliability.

SiC is a combination of silicon and harder carbide materials, and its wide bandgap has made it a key technology for battery-powered electric vehicles. Silicon carbide operates at higher power, higher temperatures and higher switching frequencies than silicon. These properties can be used to increase the range of electric vehicle batteries and reduce charging time.
"People want to charge their cars in less than 10 to 15 minutes, and that's going to continue to evolve," said Sam Geha, CEO of Infineon Technologies' Memory Solutions. "That requires silicon carbide and other technologies, as well as more automation."

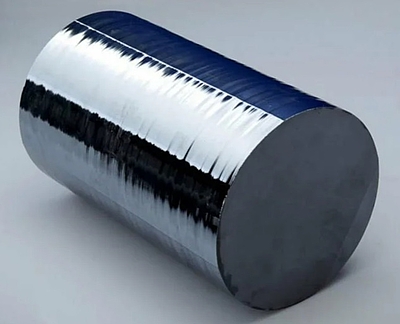
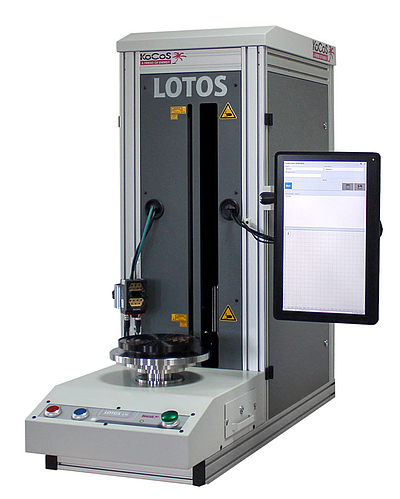
LOTOS 3D measurement systems help implementing the zero-defect strategy toward high-yield production processes without any scrap. Shortly after crystal growing, silicon carbide boules can be inspected for geometric sizes, eliminating scrap in subsequent production processes.

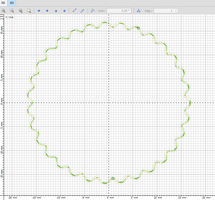
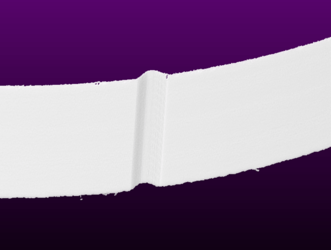
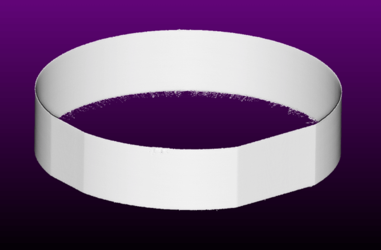
LOTOS checks all common parameters such as outer diameter and diameter at the primary and secondary flat, the flat lengths, the notch contour, as well as their exact angular positions.
Electric mobility is a core component of climate-friendly mobility and innovation worldwide. Electric vehicles generate significantly less CO2, especially when combined with renewably generated electricity.
The research, development and production of batteries and battery cells is becoming increasingly important in this context. In addition to performance, the sustainability of batteries plays an important role. But even more decisive is an efficient overall concept consisting of e-motor, battery and the battery management.
LOTOS 3D measurement systems can support the production of various components from this overall concept effectively and sustainably by 100% control.
For this purpose, the geometry of the components is checked and evaluated for specified tolerances in second cycles. The loading can be implemented manually or fully automated by means of different automation components.

In vehicle construction, the dimensional accuracies between the parts of the drive or the entire drive train play an important role for the vibration behavior on the vehicle. Especially at high speeds and torques, deviations from the nominal values become noticeable through noises and vibrations or, in the worst case, through malfunctions and lead to quality loss or even total breakdown.

It is therefore necessary to check an increasing number of geometries for their exact dimensional accuracy. In addition, established tactile measuring methods and inspections using tracing gauges can no longer cope with the required production cycle times in view of the increasing number of dimensions to be inspected.

The degree of automation required in modern production facilities demands fast and fully automated component inspections that are directly integrated into the production process.

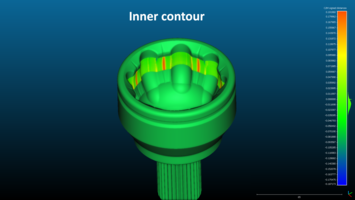
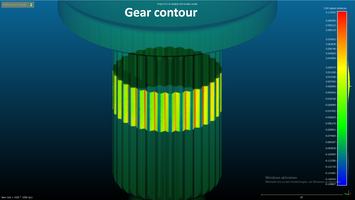
With LOTOS 3D measuring systems, drivetrain components can be inspected quickly and reliably for dimensional accuracy. Furthermore, the parts can be classified and sorted directly into different tolerance zones.

For this purpose, the test parts are placed on the measuring system either manually by hand or fully automatically via robot. Automatic quality inspection is then performed for both external and internal dimensions using predefined measuring programs.

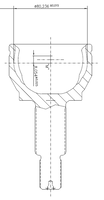
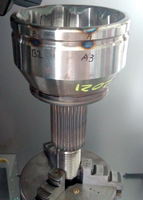
This can be, for example, the geometric inspection of a drive shaft: (LOTOS Video)

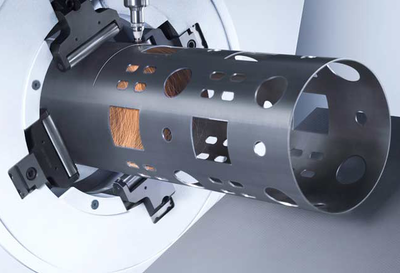
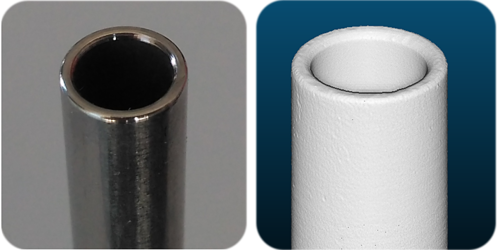
Inspection of tube geometries with LOTOS 3D measuring systems

Precise inspection of various processing steps in tube manufacturing is gaining enormous importance. On the one hand, it is important to automate processes, on the other hand, it is indispensable for a cost-efficient production to detect rejects as early as possible.
If defects are only detected during the final inspection or even after delivery to the customer, they lead to extremely high costs.
The requirements for accuracy and fast, process-reliable inspection, up to 100% inspection of the components directly in production, are constantly increasing.

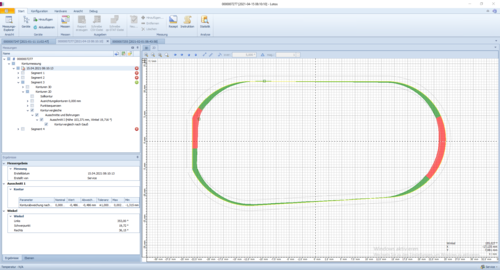
The LOTOS 3D measuring systems are used both for quality inspection of the tube pieces and for process control and defined alignment for the next processing steps.

Thereby LOTOS systems check for example:

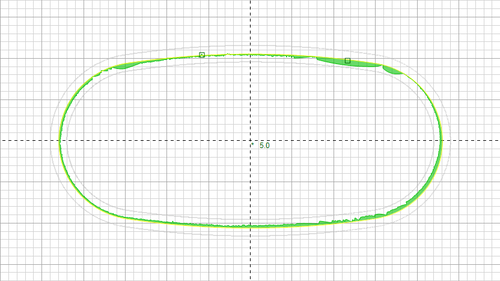
  1. Geometries from cross-sectional contours through to free-form surfaces
  2. Positions and geometries of holes and laser cutouts
  3. Length, straightness, perpendicularity and flatness of the tube pieces
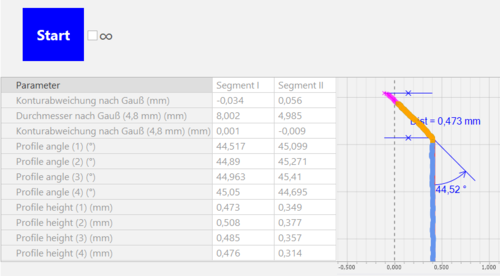
  4. Processing states of tube ends, such as chamfers or fillets of tube edges
  5. Correct alignment to a defined position based on geometric features

Quality assurance by geometric measurements increasingly becomes important not only in the final inspection. The control of dimensional accuracy is progressively shifting to the beginning of the manufacturing processes in order to detect and minimize rejects at an early stage.
The 3D measuring systems LOTOS are suitable among other applications for the exact measurement of ingots, which represent the beginning of the production process of semiconductor wafers. In order to obtain the optimum yield of wafers from the ingots, a highly accurate geometry determination at the beginning of the manufacturing process is more important than ever.

High-precision measurements of the ingot are critical to the quality and productivity of the wafer cutting process. Only an exact geometry allows to set perfect cuttings.

A solution using mechanical measurements is possible, but very susceptible. The material is very brittle, so mechanical impacts can easily cause micro cracks invisible to the human eye. These lead to wafer breakage in later process steps and thus to cost-intensive rejects.

The advantages of geometry inspection of ingots with LOTOS 3D measuring systems are:

  1. Less waste and scrap of the expensive materials
  2. Optimal utilization of the cross-sectional area of the ingot increases productivity
  3. Contactless measuring method allows a solution without mechanical stress of the material, micro cracks due to mechanical stress are therefore excluded

The following video shows the measurement of an ingot with LOTOS
cloud.kocos.com/index.php/s/dmXzPjWoBBRZJH6

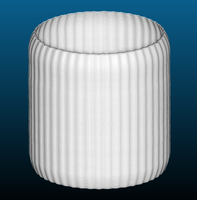
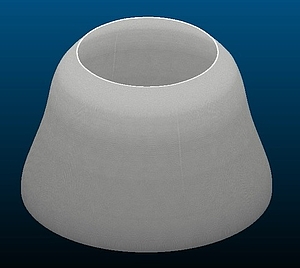
As well as the scan result as 3D visualization
cloud.kocos.com/index.php/s/d3PiSii2FywWwLT