Transmission and drive shafts - quality inspection and classification with LOTOS
 -
09. August 2021
-
3D measurement and inspection
-
09. August 2021
-
3D measurement and inspection
In vehicle construction, the dimensional accuracies between the parts of the drive or the entire drive train play an important role for the vibration behavior on the vehicle. Especially at high speeds and torques, deviations from the nominal values become noticeable through noises and vibrations or, in the worst case, through malfunctions and lead to quality loss or even total breakdown.
It is therefore necessary to check an increasing number of geometries for their exact dimensional accuracy. In addition, established tactile measuring methods and inspections using tracing gauges can no longer cope with the required production cycle times in view of the increasing number of dimensions to be inspected.
The degree of automation required in modern production facilities demands fast and fully automated component inspections that are directly integrated into the production process.
With LOTOS 3D measuring systems, drivetrain components can be inspected quickly and reliably for dimensional accuracy. Furthermore, the parts can be classified and sorted directly into different tolerance zones.
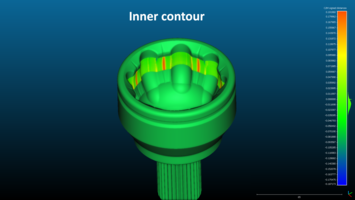
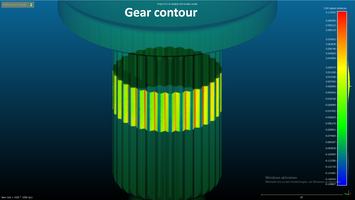
For this purpose, the test parts are placed on the measuring system either manually by hand or fully automatically via robot. Automatic quality inspection is then performed for both external and internal dimensions using predefined measuring programs.
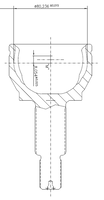
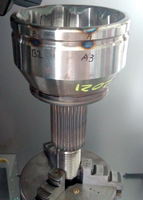
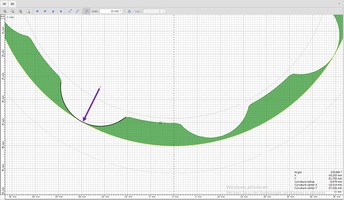
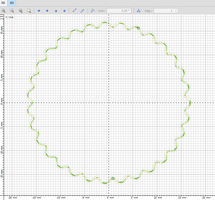
This can be, for example, the geometric inspection of a drive shaft: (LOTOS Video)

Comments are disabled for this post.
0 comments